Paper Embroidery Essentials: Your Beginner's Toolkit
Please note that some of the links within this blog post may be affiliate links, meaning that if you click on them and make a purchase, Flourishing Fibers may receive a small commission at no extra cost to you. This helps support our work in bringing you more paper embroidery content!

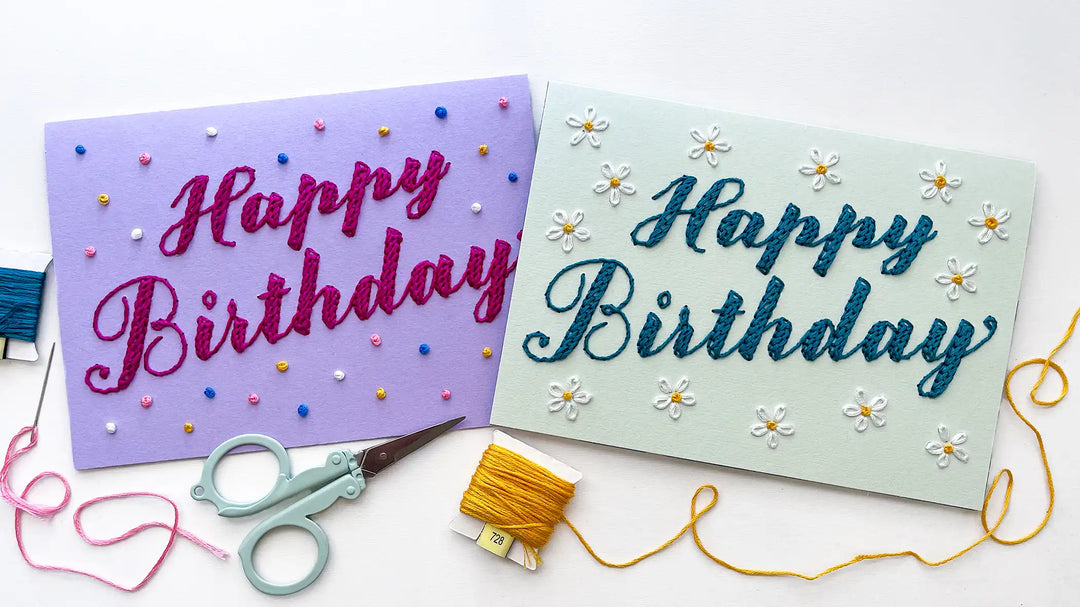
Welcome to the ultimate guide for diving into the world of paper embroidery! If you've been curious about this unique craft, you've come to the right place. This blog post will walk you through the essential tools you'll need to get started, ensuring your first (and many future!) paper embroidery projects are a success. Let's gather our supplies and get stitching!
The Importance of an Awl for Paper Embroidery and Substitutions.

For the smoothest and most comfortable experience with Flourishing Fibers patterns and paper goods, our 3-in-1 Awl is highly recommended. Its ergonomic design takes the guesswork out of creating perfectly sized and clean piercing holes.
As an alternative, a #5 embroidery needle can be used. To improve comfort, you can create a handle by wrapping tape around the blunt end. While this can work in a pinch, it's not ideal for long-term projects.
While craft weeding tools or other sharp, pointed tools might seem like a substitute, they are generally not recommended as they often lack the smooth, rounded surface needed to create clean piercing holes in paper without tearing.
Using Styrofoam as a Cushion to Prevent Fatigue and Hand Pain.

Styrofoam or packing foam is the ideal cushion for paper embroidery. It's readily available – you might even find some in your packaging! If not, a small, inexpensive piece from a craft store will last you through many projects.
One of the great benefits of styrofoam is that it's self-healing. The holes you pierce will mostly close back up, allowing you to use the same piece for a long time. The slight bounce-back that styrofoam offers when pierced makes it the easiest material to work with when you need to create numerous holes in your paper.
While cardboard or foam board might seem like alternatives, they often have a thicker top layer. This might not be noticeable for a few holes, the resistance of this layer can cause hand fatigue and strain when you're piercing hundreds of holes for a detailed design. Additionally, using your awl on materials like cardboard, which have a dense top layer, can cause the tip of your awl to dull more quickly than when used on paper and styrofoam.
What Needles Work Best for Paper Embroidery?

While you can certainly use any needle you find comfortable, Flourishing Fibers prefers tapestry needles for paper embroidery.
Tapestry needles feature a larger eye, which makes threading with all six strands of embroidery floss much easier and less frustrating. The blunt tip is also advantageous as it allows the needle to glide smoothly under your existing stitches without piercing the paper or catching on the threads.
The Importance of Resting Your Hands and Eyes When Embroidering.
It's crucial to take breaks to prevent hand strain, fatigue, and eye strain when working on paper embroidery projects. Remember to rest your hands not only during the piercing stage but also while you're stitching. Avoid long, uninterrupted periods of crafting. Good lighting is essential to reduce eye strain, so make sure your workspace is well-lit. Here are some simple stretches you can try:
Hand Stretches:
- Wrist Circles: Gently rotate your wrists clockwise and then counter-clockwise for about 15-20 seconds each way.
- Finger Stretches: Extend your arms straight out in front of you, palms facing forward. Spread your fingers wide, then make a gentle fist. Repeat this 5-10 times.
- Thumb Stretch: Gently pull your thumb back towards your wrist with your other hand, holding for about 15 seconds. Repeat on the other thumb.
- Prayer Stretch: Bring your palms together in a prayer position in front of your chest. Slowly lower your hands towards your waist, keeping your palms together, until you feel a stretch in your wrists and forearms. Hold for 15-20 seconds.
- Shake It Out: Simply shake your hands and arms out for a few seconds to release tension.
Back Stretches:
- Shoulder Rolls: Roll your shoulders forward in a circular motion for about 15 seconds, then roll them backward for another 15 seconds.
- Gentle Back Twist: Sit tall with your feet flat on the floor. Gently twist your torso to the right, placing your right hand behind you and your left hand on your right knee. Hold for 15 seconds, then repeat on the other side.
- Cat-Cow Stretch (can be modified to a seated position): If you're comfortable, get on your hands and knees. For "cat," round your spine towards the ceiling, tucking your chin to your chest. For "cow," drop your belly towards the floor and lift your chest and tailbone towards the ceiling. Hold each pose for a few seconds and repeat 5-10 times. If seated, you can mimic the rounding and arching of your back.
- Reach for the Sky: While sitting or standing, reach both arms overhead and gently stretch upwards, as if trying to touch the ceiling. Hold for a few seconds.
Remember to listen to your body and stop any stretch that causes pain. Taking regular breaks and incorporating these simple stretches will help you enjoy paper embroidery for longer without discomfort!
Happy stitching!
We truly hope this guide to essential paper embroidery tools has been helpful in setting you up for success on your creative journey with Flourishing Fibers. Now you have a great understanding of what you'll need to get started and can confidently choose the right supplies for your projects.