Berry Wreath
Create a Festive Berry Wreath Card with Paper Embroidery

Get ready to spread some holiday cheer with a handmade touch! This video tutorial, "Easy Paper Embroidery Card: Create a Festive Berry Wreath with Flourishing Fibers," guides you through the simple and rewarding process of creating a beautiful embroidered berry wreath card.
Gather Your Materials

To get started, you'll need a few key supplies:
- Styrofoam (this acts as a cushion when you pierce the paper)
- Fine and ultra-fine point awls
- Your printed berry wreath pattern template
- Tapestry needles in sizes #26 and #24 (having both can be helpful)
- Embroidery floss in your chosen colors for the wreath, berries, and lettering
Stitching Your Festive Wreath

Begin by stitching the stems of the wreath using a whipped-back stitch. This gives the stems a lovely textured look.

Next, create the leaves using straight stitches. Remember to keep your stitches loose and untwisted for the best effect.
Adding Berries and Lettering

No berry wreath is complete without the berries!
French knots are the perfect stitch for creating these little pops of color. The tutorial suggests wrapping the needle three times with light tension before pulling through to create nice, chunky berries.
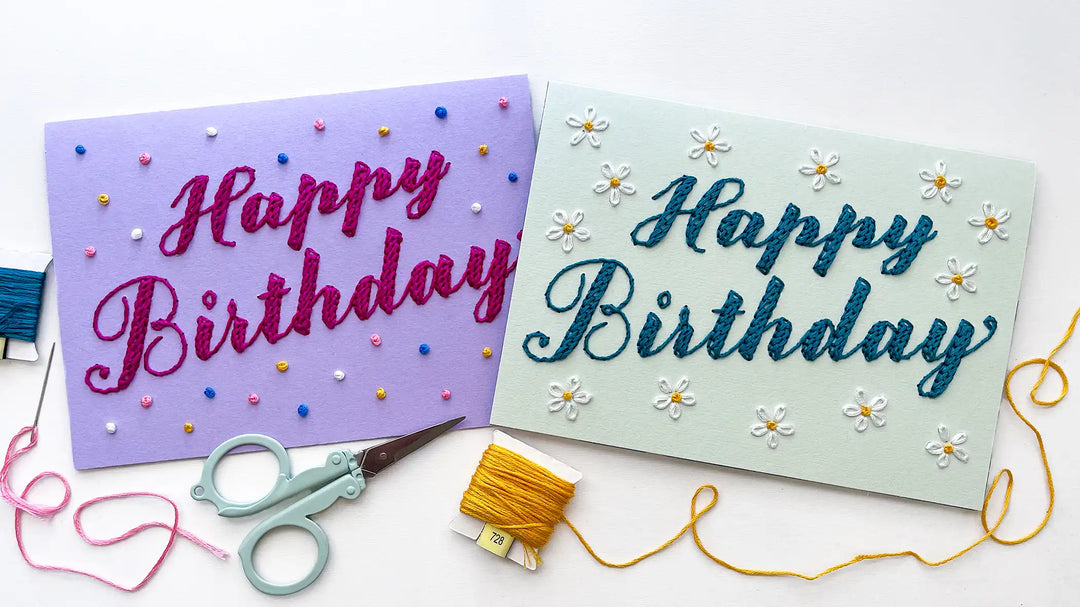
For the lettering on your card, use a #26 needle. Be careful not to pull your stitches too tightly to avoid tearing the paper.
Finishing Touches

Once your stitching is complete, the final step is to tidy up the back of your card by trimming any excess threads for a clean and professional finish.
This tutorial is a fantastic way to create personalized holiday cards or festive greetings for any occasion.
You can watch the full tutorial here: Easy Paper Embroidery Card: Create a Festive Berry Wreath with Flourishing Fibers


Leave a comment