Happy Mother's Day Card
Create a Heartfelt Mother's Day Paper Embroidery Card


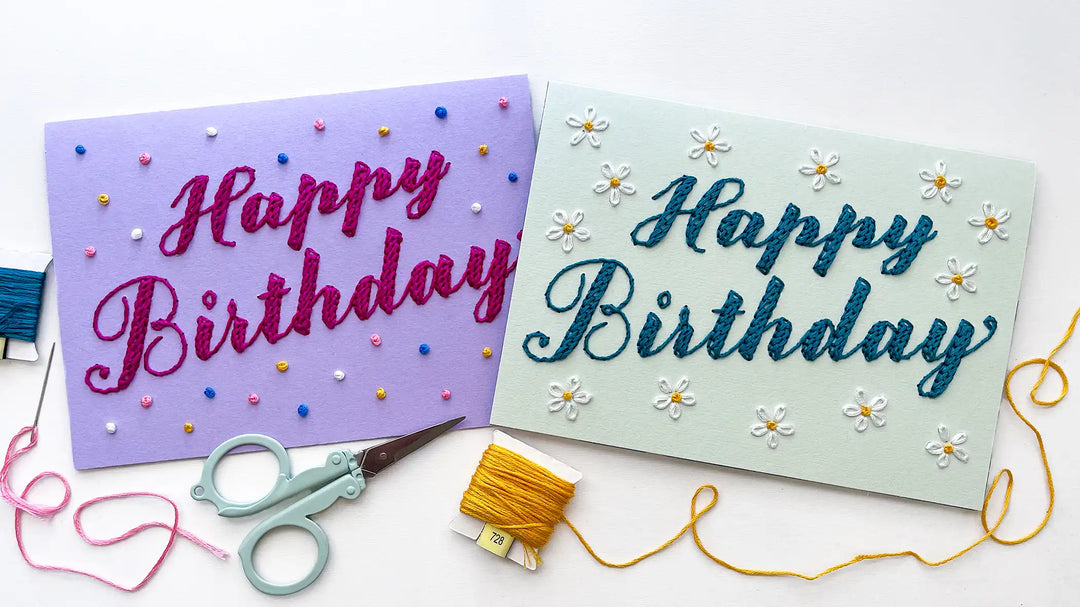
Show your love this Mother's Day with a beautiful handmade paper embroidery card! This video tutorial guides you through creating a stunning card that any mother would cherish.
Stitching Order

The recommended stitching order to bring your design to life is as follows:
- Branches
- Roses
- Leaves and tassel flowers
- Lettering
Stitching Techniques

The tutorial covers various stitching techniques for different elements of the design:
- Branches: Use whipped back stitch for the long branches and straight stitches for the short branches.
- Roses: Create beautiful roses using the three spoke woven technique. Remember to use light tension for fuller flowers.
- Leaves: Stitch the leaves using straight stitches. You may need to expand the base hole slightly for easier threading.
- Tassel Flowers: Create these unique flowers by wrapping thread around your fingers to form loops and then tacking them down onto the paper.
Stitching the Lettering

For the lettering, start with straight stitches, beginning with the crossbars. For the word "Mother's," the tutorial provides specific instructions using a combination of whipped back stitches and raised stem stitches.
Optional Backing

For a clean finish on the inside of your card, you have the option to add a backing. You can use lightweight paper and either double-sided tape or a glue stick to cover the back of the embroidered area.
Ready to start stitching? Watch the full tutorial here: Paper Embroidery Mother's Day Card Tutorial