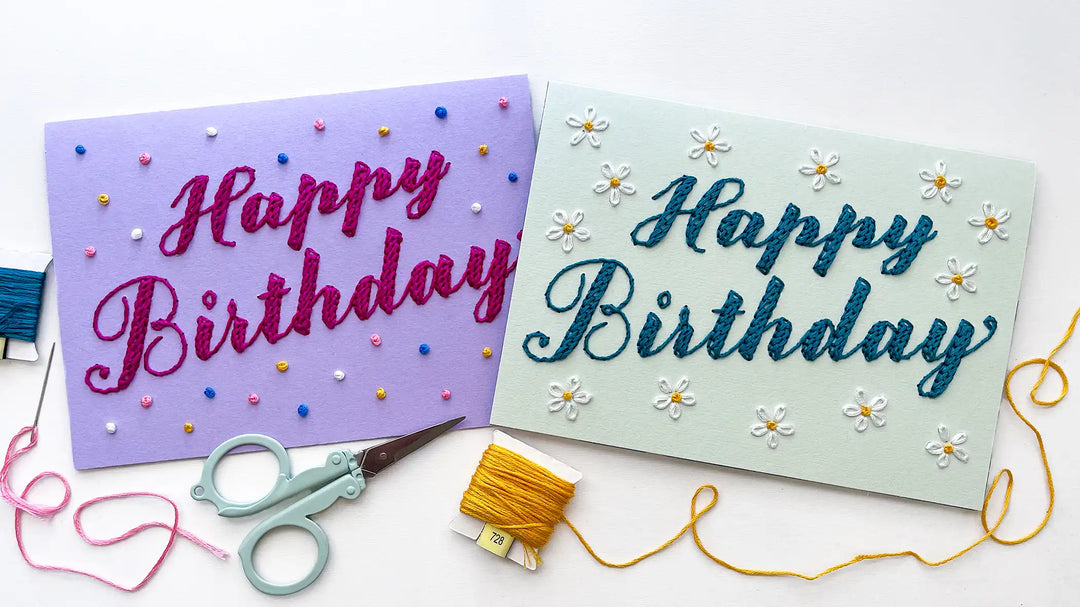
How to Transfer Your Patterns to Any Paper

Hello, fellow fiber artists! Sara here, the owner and designer behind Flourishing Fibers. Today, I'm thrilled to share a comprehensive guide on a crucial skill for any paper embroiderer: transferring your digital patterns onto your paper of choice.
You might be wondering why you'd need to transfer a pattern if Flourishing Fibers offers beautiful pre-printed paper goods. That's a great question, and there are several reasons why this tutorial is a game-changer for many of you:
-
Limited International Shipping: While I love sending my creations worldwide, international shipping can sometimes be a hurdle for pre-printed items. Digital patterns offer a global solution!
-
Wider Design Selection: Not all of my designs are available as pre-printed paper goods. This tutorial unlocks the full library of Flourishing Fibers digital patterns for your projects.
-
Customization is Key: Perhaps you have a specific paper color or texture in mind that isn't part of my current selection. Learning to transfer allows you to truly customize your creations with your preferred materials.
-
Learn to Transfer Your Own Designs: The techniques you'll learn here aren't just for Flourishing Fibers patterns; they empower you to transfer any design you create or find!
-
Cost-Effective Crafting: Opting for digital patterns can be a more budget-friendly way to enjoy paper embroidery, as you only purchase the design file.
Ready to dive in? I've created a detailed video tutorial to walk you through every step. You can watch the full video here: Transfer Paper Embroidery Patterns to ANY Paper Video Tutorial
Two Essential Ways to Transfer Your Paper Embroidery Patterns
Option 1: Print Directly to Paper
This is my go-to method for its speed and simplicity. It's the quickest way to get started, as your pattern is ready to go right out of the printer!
This option works best if:
-
You are using a light-colored paper where the printed lines will be easily visible.
-
Your printer can comfortably handle the thickness and type of paper you intend to use for your project.

One of the greatest benefits of direct printing is that your pattern lines are printed directly onto your paper. This makes the embroidery process smoother and easier on your eyes, as you have clear guides rather than just dots.

If you're concerned about keeping your paper pristine while piercing the holes, a simple paper napkin can be used as a guard to protect your project while you work.

I always recommend piercing your design before cutting it out, especially for smaller shapes!
Option 2: Transferring Your Pattern (The Manual Way)
This method is incredibly versatile and opens up a world of possibilities for paper choice. It involves printing your pattern onto a separate piece of copy paper and then transferring the design.
This option is perfect if:
-
You are using dark-colored paper where a direct print would not be visible.
-
Your printer struggles with thick or specialty papers.
-
You are limited to printing only on standard copy paper.

For this method, you'll print your pattern onto regular copy paper. Then, you'll lay this printed sheet over your project paper and begin piercing through both layers.
A quick note on printers: If you have a laser printer, you might find that the toner is visible even on dark paper due to its slight shine. It's always worth a try! With inkjet printers, you never know if there will be enough contrast, so experiment to see what works for you.

You might be wondering about using tape to hold the papers together during this process. While it's an option, I very rarely use it myself! When piercing, if I need to rotate my paper, I simply rotate both the paper and my foam mat together. The same applies when trimming the paper. This minimizes handling the paper directly and helps maintain alignment.
And don't panic if your papers do happen to shift! As you pierce, small burrs are created on the back of your paper. These tiny bumps actually help you realign the papers perfectly if they separate, and they also help them stay together as you work. So, rest assured, you haven't ruined your project!

The final step for Option 2, before you begin stitching, is to lightly transfer some of the line elements to your project paper. This is particularly helpful if you find a field of holes overwhelming and need a starting point. Simply use a pencil to lightly connect the holes, focusing on lines that define a shape or clarify a confusing section. These lines are subtle and act as guides; they will be completely covered by your thread, so there’s no need to erase them!
Find Your Purpose, Keep On Stitching!
Both options have their unique purpose, and I use both in my own work. I'll admit, Option 1 is my personal favorite because fewer steps mean I can start embroidering even faster!
I hope this blog post and the accompanying video tutorial empower you to transfer your paper embroidery patterns with confidence.
Be sure to like the video and subscribe to the Flourishing Fibers YouTube channel for more tips, tutorials, and patterns! You can also check out my new Paper Embroidery Essentials playlist for foundational knowledge every beginner needs.
Happy stitching, and bye for now!


Leave a comment